Labeling cables is essential for quick identification and organization. Use adhesive labels, a label maker, or heat-shrink tubing for durable options. Consider color-coding your cables to simplify recognition—red might mean power, for example. Make sure to label both ends of each cable and regularly update labels as setups change. To enhance efficiency and organization, check out professional labeling systems. These tips can streamline your process, and there's more you'll discover to keep your cables organized.
Table of Contents
Key Takeaways
- Use adhesive labels or a label maker for clear, easy-to-read cable identification.
- Implement color-coding for quick recognition, assigning specific colors to different cable types.
- Label both ends of each cable to avoid confusion during disconnections or rearrangements.
- Regularly update labels to reflect changes in your setup, ensuring accuracy and clarity.
- Utilize cable ties to keep cables organized and prevent tangling, enhancing overall efficiency.
The Importance of Cable Labeling
Clarity is crucial when it comes to managing cables, and effective labeling plays a key role in that. You might find yourself tangled in a mess of wires, making it hard to identify which cable connects to what device.
By labeling your cables, you can save time and frustration during setup or troubleshooting. It helps you quickly distinguish between different connections, whether they're for power, data, or audio.
Labeling your cables saves time and frustration, allowing for quick identification of power, data, and audio connections.
When you need to unplug or swap cables, clear labels make the process seamless. Plus, if you're working with multiple devices, labeled cables reduce the risk of mistakes, ensuring everything stays organized.
Ultimately, proper labeling enhances efficiency and minimizes confusion in both personal and professional settings.
Basic DIY Labeling Techniques
When it comes to labeling your cables, having the right tools can make all the difference.
You can easily enhance your organization by exploring effective color-coding methods that stand out.
Let's look at some basic DIY techniques to get you started.
Labeling Tools Overview
Whether you're organizing a home office or setting up a media room, using the right labeling tools can make the process much easier.
Start with adhesive labels, which you can write on directly or print from your computer for a cleaner look. A label maker is also a great investment; it allows you to create custom labels quickly and efficiently.
For more durable options, consider using heat-shrink tubing or cable ties, which can withstand wear and tear. Don't forget a permanent marker for quick notes or temporary labels.
Finally, a label holder can keep your labels neat and organized. Choose tools that suit your needs, and you'll streamline your cable management effectively.
Color-Coding Methods
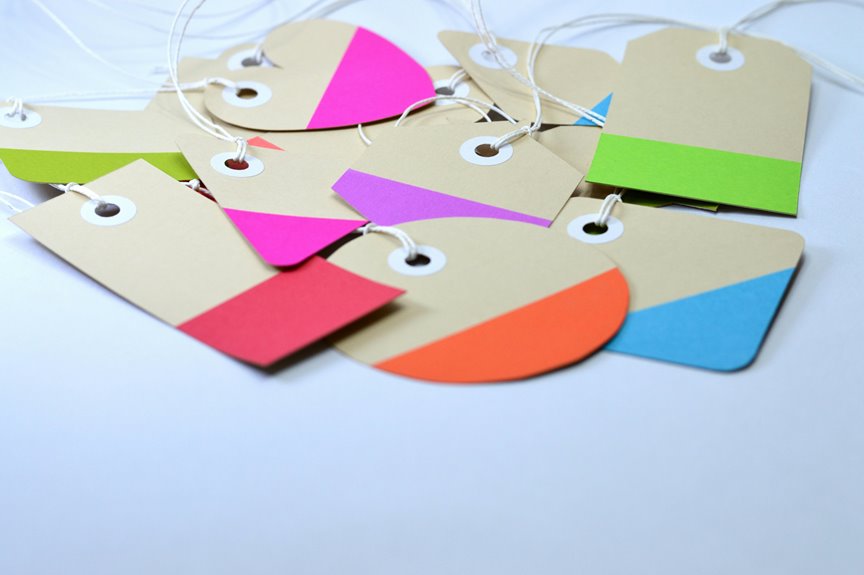
Color-coding your cables can simplify organization and make it easy to identify each connection at a glance.
To start, choose a color scheme that works for you—like red for power, blue for audio, and green for video. Use colored electrical tape, adhesive labels, or even colored zip ties to mark each cable.
Make sure to apply the color consistently across all your cables to avoid confusion later. You might also consider using a color chart or legend to keep track of what each color represents.
This method not only helps you quickly spot the right cable but also reduces the frustration of tangled wires. With a little effort, you'll streamline your setup and enhance your workspace's overall efficiency.
Using Color-Coding for Quick Identification
To quickly identify cables in a cluttered workspace, you can use color-coding as an effective organizational tool. By assigning different colors to specific cables or functions, you'll streamline your setup.
Color-coding your cables can simplify your workspace, making it easier to identify and manage connections efficiently.
Here are some tips to get you started:
- Red: Power cables or high-voltage connections.
- Blue: Networking cables, like Ethernet or phone lines.
- Green: Audio and microphone cables for easy access.
- Yellow: Video cables, such as HDMI or display connections.
Using these color codes not only helps you find cables faster but also reduces the risk of plugging the wrong cable into the wrong device.
With a little effort, your workspace can become much more organized and efficient!
Investing in Professional Labeling Systems
Investing in professional labeling systems can significantly enhance your cable management strategy, especially when dealing with large setups. These systems often include high-quality printers and durable labels that can withstand wear and tear.
You'll find that using a dedicated labeling system saves you time and frustration, as it allows for quick, clear identification of cables.
Moreover, professional systems often offer compatibility with various label types and sizes, ensuring you can customize labels to fit your needs.
By opting for professional solutions, you're not just labeling cables; you're creating an organized environment that boosts efficiency.
You'll appreciate the consistent results and the ability to update labels easily as your setup evolves, making your cable management much more straightforward.
Tips for Maintaining an Organized Cable Setup
To keep your cable setup organized, start by choosing color-coded labels that make it easy to identify connections at a glance.
Don't forget to use cable ties to bundle cords neatly and prevent tangling.
Regularly updating your labels ensures everything stays accurate as your setup changes.
Choose Color-Coded Labels
How can you streamline your cable management while adding a pop of color? Choosing color-coded labels is an effective way to enhance both organization and aesthetics. By using different colors, you'll easily identify cables at a glance, saving time and reducing frustration.
Here are some tips to help you get started:
- Assign colors: Use specific colors for different devices or functions.
- Use bright shades: Opt for vibrant colors that stand out against your cables.
- Label both ends: Ensure you label both ends of each cable for clarity.
- Stay consistent: Maintain a consistent color scheme across your setup to avoid confusion.
With color-coded labels, you'll not only simplify your cable management but also add a fun touch to your workspace!
Use Cable Ties
Cable ties are essential for keeping your setup neat and tidy. By bundling cables together, you can prevent tangling and make your space look organized.
When using cable ties, group similar cables—like power cords, HDMI cables, and network wires—so you can easily identify them. Make sure not to pull the ties too tight; you want a secure hold without damaging the cables.
Consider using reusable cable ties for added flexibility; they allow you to adjust your setup as needed. Additionally, color-coded ties can enhance your labeling system, helping you quickly identify which cable belongs to which device.
Regularly Update Labels
Regularly updating your labels is crucial for maintaining an organized cable setup. Over time, your devices and connections may change, so keeping your labels current prevents confusion and saves time.
Here are some tips to help you stay on top of your labeling game:
- Check labels every few months for accuracy.
- Replace damaged or faded labels promptly.
- Add new labels for any added devices or connections.
- Keep a digital record of your cable setup for quick reference.
Creative Labeling Ideas for Unique Cables
While organizing your unique cables, getting creative with labeling can make a significant difference in both aesthetics and functionality. Instead of plain labels, consider using colorful washi tape or custom stickers that reflect your personality. You could even use a label maker for sleek, professional-looking tags. Another fun idea is to color-code your cables based on their purpose.
Here's a quick guide to help you brainstorm:
| Labeling Method | Description |
|---|---|
| Washi Tape | Decorative and easy to change |
| Color-Coding | Assign colors to categories |
| Custom Stickers | Personalize your labels |
With these creative ideas, you'll not only enhance the look of your setup but also simplify your cable management.
Frequently Asked Questions
What Materials Are Best for Durable Cable Labels?
For durable cable labels, you'll want to use materials like vinyl or polyester, as they resist wear and tear. Waterproof options are great too, ensuring your labels stay intact even in challenging environments.
How Often Should I Update My Cable Labels?
You should update your cable labels whenever there's a change in your setup, like new equipment or rearrangements. Regularly reviewing them every six months keeps everything organized and ensures you always know what's connected where.
Are There Specific Labels for Outdoor Cables?
Yes, there are specific labels for outdoor cables. You'll want weather-resistant materials that can withstand UV exposure and moisture. Look for durable options to ensure your labels stay clear and intact in various outdoor conditions.
Can I Use a Label Maker for Any Cable Type?
Yes, you can use a label maker for any cable type. Just ensure the labels are durable and weather-resistant if you're using them outdoors. This way, your cables stay organized and easily identifiable.
What Is the Cost of Professional Labeling Systems?
Professional labeling systems typically range from $50 to several hundred dollars, depending on features and quality. You'll want to consider your specific needs and budget before making a decision on which system to purchase.


