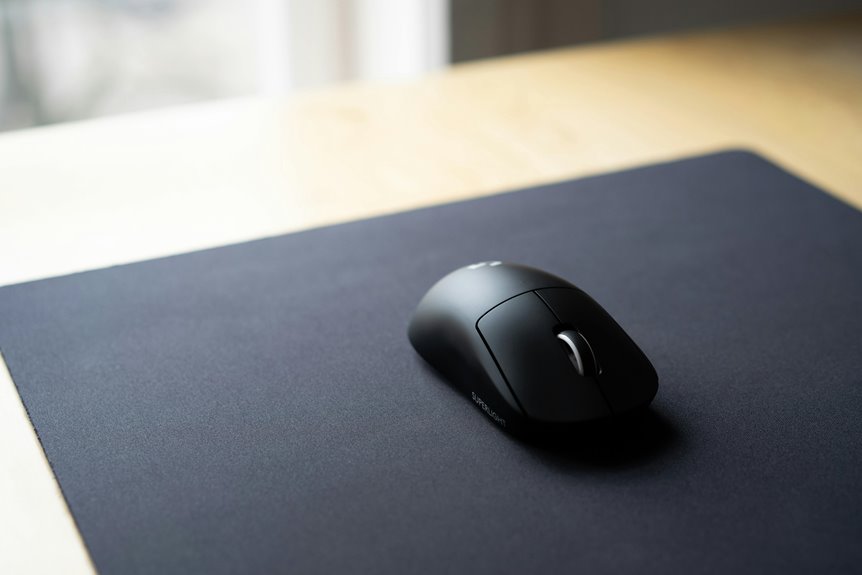
To clean the sensors in your trackball mouse, first gather isopropyl alcohol, a lint-free cloth, and cotton swabs. Disconnect the mouse and carefully disassemble it. Use a damp cloth or cotton swab to gently clean the sensor area, being cautious not to apply too much pressure. Make sure everything dries completely before reassembling the mouse. After putting it back together, test its performance for smooth tracking and responsive buttons. There's more helpful info to ensure your mouse stays in top shape.
Key Takeaways
- Disconnect the mouse from the computer to ensure safety before cleaning the sensors.
- Use a soft cloth or cotton swab with isopropyl alcohol to gently wipe the sensor area.
- For stubborn debris, utilize a toothpick or soft brush with caution to avoid damage.
- Ensure the sensors are completely dry before reassembling the mouse components.
- Regular cleaning of the sensors maintains optimal performance and responsiveness of the trackball mouse.
Gather Your Cleaning Supplies
Before you dive into cleaning your trackball mouse, gather a few essential supplies.
You'll need a soft, lint-free cloth to avoid scratching surfaces. Isopropyl alcohol is great for disinfecting and removing grime, so keep some handy. A cotton swab or two will help you reach those tight spots around the sensors.
If your mouse has a removable ball, make sure to have a small container or bowl to hold it temporarily. Finally, a can of compressed air can help blow away dust and debris that's hard to reach.
These supplies will ensure you clean your trackball mouse effectively, keeping it in top shape for smooth operation. Getting organized now will make the cleaning process much easier!
Disconnect and Disassemble the Trackball Mouse
To start cleaning your trackball mouse, first disconnect it from your computer or power source. This ensures your safety while you work.
Next, you'll need to disassemble the mouse to access the internal components. Here's how to do it:
- Carefully remove the trackball by pressing the release button or twisting it out.
- Use a small screwdriver to take off the screws on the bottom of the mouse.
- Gently lift the top cover to expose the inner parts.
- Take note of the arrangement of any components you remove for easy reassembly.
- Keep all screws and small parts in a safe place to prevent losing them.
Once you've disassembled it, you're ready for the next step in cleaning.
Clean the Sensors Carefully
Cleaning the sensors of your trackball mouse is essential for maintaining its performance and ensuring smooth operation.
Start by using a soft, lint-free cloth or cotton swab lightly dampened with isopropyl alcohol. Gently wipe the sensor area, being careful not to apply too much pressure. This will help remove any dirt or grime without damaging the delicate components.
If you notice stubborn debris, use a toothpick or a soft brush to dislodge it, but do this with caution to avoid scratching the surface. Ensure the sensors are completely dry before reassembling your mouse.
Regular cleaning keeps your trackball mouse functioning optimally, so make this a part of your routine maintenance. A clean sensor contributes to better tracking and response.
Reassemble the Trackball Mouse
Reassembling your trackball mouse is a straightforward process that can be completed in just a few steps.
Start by ensuring all components are clean and dry.
Next, follow these instructions to put everything back together:
- Align the trackball with its housing and gently place it back in.
- Reinsert any retaining clips or screws you removed, ensuring they fit snugly.
- Attach the bottom cover of the mouse, making sure it snaps securely into place.
- Reconnect any cables or wireless components if applicable.
- Finally, give the mouse a light wipe to remove any fingerprints or dust.
Once you've completed these steps, your trackball mouse will be ready for use!
Test the Mouse for Optimal Performance
With your trackball mouse reassembled and ready, it's time to ensure everything's functioning properly. Start by moving the trackball in all directions; it should glide smoothly without any stutter or delay. Next, test the buttons to confirm they click responsively. If you notice any issues, revisit your cleaning process.
To help you track performance, here's a quick checklist:
| Action | Expected Result | Notes |
|---|---|---|
| Move trackball | Smooth movement | No resistance |
| Click left button | Immediate response | No double-clicks |
| Click right button | Immediate response | No lag |
| Scroll wheel | Consistent scrolling | No jumps |
| Overall feel | Comfortable handling | No discomfort or awkwardness |
If everything checks out, you're good to go!
Frequently Asked Questions
How Often Should I Clean My Trackball Mouse Sensors?
You should clean your trackball mouse sensors every few weeks, especially if you notice any decrease in tracking accuracy. Regular maintenance keeps your device functioning smoothly and extends its lifespan, so don't forget!
Can I Use Alcohol Wipes on the Sensors?
Yes, you can use alcohol wipes on the sensors, but make sure they're not overly saturated. Gently wipe the sensors to avoid damage, and let them dry completely before using your trackball mouse again.
What if My Trackball Mouse Stops Working After Cleaning?
If your trackball mouse stops working after cleaning, check connections and ensure everything's dry. You might need to restart your computer. If issues persist, consider consulting the manufacturer's guide or seeking professional help.
Are There Any Specific Tools Needed for Cleaning Sensors?
You don't need many tools for cleaning sensors. A microfiber cloth and isopropyl alcohol usually do the trick. Just make sure to have cotton swabs handy for those hard-to-reach spots and keep everything gentle.
Is It Safe to Use Compressed Air for Cleaning?
Using compressed air's generally safe for cleaning, but you should be cautious. Don't hold it too close, as it can damage delicate components. Instead, keep the nozzle at a distance to avoid potential issues.