To cut a desk mat to fit your desk, first measure your workspace dimensions accurately. Choose tools like a sharp utility knife and ruler for clean lines. Mark your cutting lines clearly and take your time to ensure precision. Carefully cut along the marked lines, then smooth any sharp edges with sandpaper. Test the fit on your desk, and consider personalizing it with designs or colors. Keep going to discover more tips for customizing your workspace!
Key Takeaways
- Measure your desk's length and width accurately to determine the mat size needed.
- Use a sharp utility knife and straight edge for clean, precise cuts along marked lines.
- Mark cutting lines clearly on the mat, accounting for desired overhang before cutting.
- Smooth sharp edges with fine-grit sandpaper for a polished finish after cutting.
- Personalize your mat with stickers or designs that enhance your workspace's aesthetic.
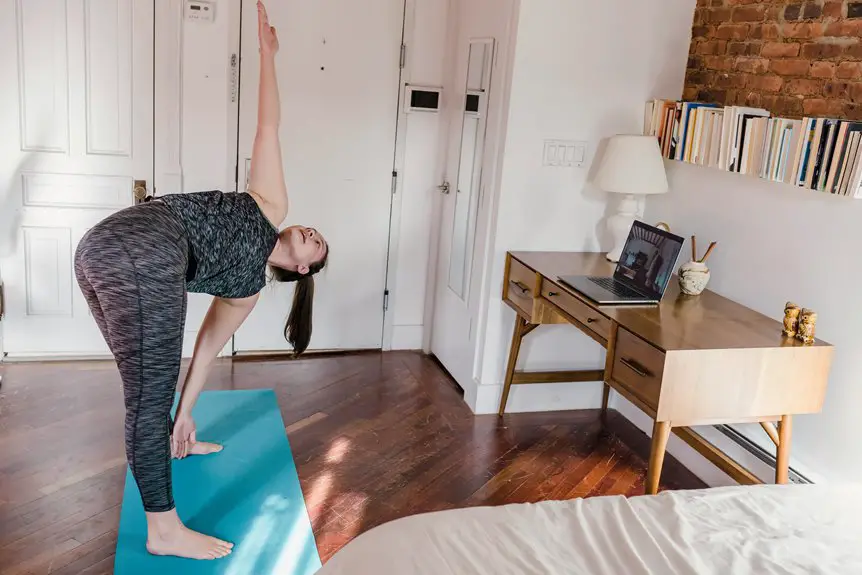
Assess Your Workspace Dimensions
Before you start cutting your desk mat, it's crucial to assess your workspace dimensions. Take a moment to measure your desk's length and width. Use a tape measure for accuracy, and jot down those numbers.
Don't forget to consider any items you'll place on the mat, like your monitor, keyboard, or other accessories. This'll help you visualize how much space you'll actually need.
Consider the items you'll place on the mat, like your monitor and keyboard, to better visualize your space needs.
Additionally, think about the layout of your workspace. Are there any obstacles that might affect how you position your mat? Ensuring you have a clear understanding of your desk space will make cutting your mat much easier and more effective.
With these measurements in hand, you'll be ready to create a custom fit for your workspace.
Choose the Right Tools for the Job
To successfully cut your desk mat, you'll need the right tools at your disposal. Start with a sharp utility knife or a pair of heavy-duty scissors, as these will make clean, precise cuts.
A straight edge, like a ruler or a metal straightedge, will help you achieve straight lines. Don't forget a cutting mat or a sturdy surface to protect your workspace and keep your blades from dulling.
If you're working with thicker materials, consider a rotary cutter for smoother results. Lastly, grab a pencil or marker for marking your measurements.
With these tools in hand, you'll be well-equipped to tackle the task ahead and ensure your desk mat fits perfectly.
Mark Your Cutting Lines
With your tools ready, it's time to mark your cutting lines. Start by laying your desk mat flat on a clean, even surface.
Use a ruler to measure the dimensions of your desk, ensuring you account for any overhang you want. Once you've got the measurements, carefully mark those dimensions on the mat with a pencil or a fine-tipped marker.
It's crucial to make straight, clear lines, so take your time with this step. If you're working with a large mat, consider marking multiple points along each side before connecting them.
Double-check your markings to avoid mistakes. This ensures you'll have a precise cut that fits your desk perfectly. A little patience now will pay off later!
Cut the Desk Mat Carefully
Before you start cutting, gather all the necessary tools, like a sharp utility knife and a ruler.
Make sure you've accurately measured your desk dimensions and marked your cutting lines clearly.
This preparation will help you achieve a clean, precise cut for your desk mat.
Gather Necessary Tools
As you prepare to cut your desk mat, gathering the right tools is crucial for achieving a clean and precise result.
Start with a sharp utility knife or scissors; dull blades can lead to jagged edges. A straight edge, like a ruler or a cutting mat, will help you maintain a straight line while cutting.
Don't forget a cutting board or surface to protect your desk underneath. A pencil or marker will be handy for marking your measurements. If you're working with thicker materials, consider a metal ruler for added stability.
Lastly, keep a clean workspace to avoid distractions and mistakes. With the right tools in hand, you're set for a successful cutting process.
Measure Desk Dimensions
Now that you've gathered your tools, it's time to measure your desk dimensions carefully. Start by measuring the width, depth, and height of your desk. Use a tape measure for accuracy, and make sure to note each measurement.
Here's a simple table to help you keep track:
| Measurement Type | Value (in inches) | Notes |
|---|---|---|
| Width | From left to right | |
| Depth | From front to back | |
| Height | From floor to top | |
| Diagonal | Corner to corner | |
| Total Area | Width x Depth |
Once you have these numbers, you'll be ready to choose the right desk mat size. Happy measuring!
Mark Cutting Lines
To ensure a clean and accurate cut, take a moment to mark your cutting lines on the desk mat. Use a straight edge, like a ruler, to guide your pencil or marker. Measure twice to confirm your dimensions, then lightly draw lines where you'll cut.
It's crucial to keep these lines straight and precise, as they'll dictate your final shape. If your mat has a pattern or texture, align the lines so they look good after cutting.
Once you've marked the lines, double-check everything before you start cutting. A small mistake can lead to uneven edges, so take your time.
With your lines clearly marked, you're ready to move on to cutting the mat.
Smooth the Edges
Once you've cut your desk mat to the desired size, it's essential to smooth the edges for a polished look and to prevent any potential wear.
Begin by using fine-grit sandpaper to gently round off the edges. This helps eliminate any sharp corners that could snag on your clothes or other items. Work in small, circular motions, applying even pressure to ensure a consistent finish.
If your mat is made of vinyl or another synthetic material, consider using a heat gun to slightly melt the edges, making them more pliable and less prone to fraying. Always test on a small area first to avoid damage.
Finally, wipe away any dust or debris with a clean cloth, ensuring your mat looks great on your desk.
Test the Fit
Now that your edges are smooth, it's time to test the fit of your desk mat.
Start by measuring your desk surface to ensure accuracy, and consider using a template to visualize how it'll sit.
Mark your cutting lines carefully to avoid any mistakes before you make the final cut.
Measure Your Desk Surface
Measuring your desk surface is crucial for ensuring your new mat fits perfectly. Start by clearing your desk of any items that might obstruct your measurements.
Grab a tape measure and determine the length and width of your desk. It's best to measure at multiple points, especially if your desk isn't a standard shape.
Take note of any edges, corners, or protrusions that could affect the mat's fit. Don't forget to measure the height if your desk has uneven surfaces.
Once you have the dimensions, jot them down for easy reference. This way, you'll avoid any surprises when it's time to cut your mat.
Accurate measurements make all the difference in achieving a polished look for your workspace.
Use a Template
Creating a template is a smart way to ensure your desk mat fits just right. Start by using cardboard or paper to trace the dimensions of your desk surface. Cut it out, and then place it on your desk to see how well it fits. Make adjustments as needed.
Here's a simple table to help you visualize the process:
| Step | Action | Purpose |
|---|---|---|
| Measure | Get desk dimensions | Ensures accuracy |
| Create Template | Trace dimensions | Provides a physical guide |
| Test Fit | Place template on desk | Confirms correct sizing |
Mark Cutting Lines
Once you've ensured your template fits snugly on your desk, it's time to mark the cutting lines. Grab a pencil or a marker, and carefully trace along the edges of your template. This step is crucial for achieving a clean, precise cut.
- You want your desk mat to look perfect, reflecting your personal style.
- A well-cut mat can boost your productivity and make your workspace inviting.
- The anticipation of seeing your desk transformed keeps you motivated.
Take your time with this part; double-check your lines before cutting. Once you're satisfied with the markings, you'll be ready to make that first cut and create a desk mat that fits your space perfectly!
Customize Your Desk Mat Further
While you've already cut your desk mat to fit your space, there are still plenty of ways to customize it further and make it truly yours.
Start by adding personal touches like stickers or decals that reflect your style. You might also consider using fabric paint to create unique designs or patterns.
If you're into organization, incorporate different sections with washi tape to designate areas for notes, tasks, or supplies. For a more functional approach, add a cork section for pinning reminders.
Lastly, think about incorporating a color scheme that complements your decor. With these simple adjustments, your desk mat can become a vibrant and personalized workspace that inspires creativity and productivity.
Frequently Asked Questions
What Materials Can Desk Mats Be Made From?
Desk mats can be made from various materials, like vinyl, leather, fabric, or rubber. Each material offers different textures and durability, so you'll want to choose one that complements your workspace and personal style.
How Do I Clean My Desk Mat After Cutting?
To clean your desk mat after cutting, you'll want to wipe it down with a damp cloth and mild soap. Make sure to dry it thoroughly afterward to prevent moisture buildup that could damage it.
Can I Use Scissors Instead of a Utility Knife?
Sure, you can use scissors instead of a utility knife, but it might be harder. Scissors work best on thinner materials. Just ensure you're cutting straight to achieve a clean edge for your desk mat.
Will Cutting a Desk Mat Void Its Warranty?
Cutting a desk mat might void its warranty, depending on the manufacturer's policies. You should check the warranty terms carefully before making any alterations, so you don't accidentally lose your coverage.
How Do I Prevent Fraying on the Edges?
To prevent fraying on the edges, you can apply fabric glue or use heat sealing techniques. If the material allows, try burning the edges slightly to seal them. Always ensure you handle materials safely and carefully.