To effectively remove Sharpie stains from your desk, try using rubbing alcohol. Dampen a cloth with it and gently blot the stain, working from the outside inward. You can also use hand sanitizer or commercial products like Goo Gone or Magic Eraser for tougher marks. If you prefer, a baking soda and water paste may help, too. There are also preventive measures you can take to avoid future stains, which you might find useful.
Key Takeaways
- Dampen a cloth with rubbing alcohol and gently blot the Sharpie stain from the outside inward to lift the ink effectively.
- Use hand sanitizer by applying it onto a clean cloth and blotting the stained area for fresh or moderate stains.
- Apply commercial cleaners like Goo Gone or Magic Eraser directly onto the stain for stubborn ink removal, testing on a small area first.
- Regularly clean your workspace to prevent ink buildup, using a damp cloth to wipe down frequently used areas.
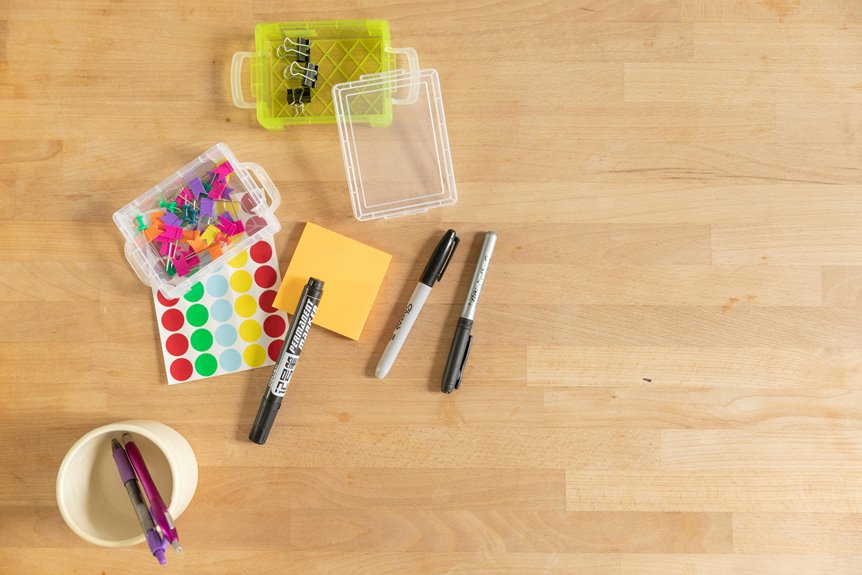
- Store markers in a designated container away from the desk to minimize accidental spills and stains.
Understanding the Composition of Sharpie Markers
Sharpie markers are popular for their bold colors and permanent ink, but understanding their composition can help you tackle those stubborn stains.
The ink primarily consists of pigments, solvents, and resins. The pigments provide the vibrant color, while the solvents keep the ink fluid and allow it to dry quickly. Resins play an essential role in ensuring the ink adheres well to surfaces.
Sharpie ink is a blend of pigments, solvents, and resins, creating vibrant colors that adhere strongly to surfaces.
This combination makes Sharpie ink durable and resistant to water, which is why it can be tricky to remove. When you realize these components, you’ll appreciate why traditional cleaning methods often fall short.
Knowing the makeup of the ink will guide you in choosing the right removal techniques, helping you restore surfaces more effectively.
Quick Fix: Rubbing Alcohol Method
One effective way to tackle Sharpie stains is by using rubbing alcohol, which many households already have on hand. This method is quick and simple.
Here’s how you can do it:
- Apply Rubbing Alcohol: Dampen a cotton ball or cloth with rubbing alcohol. Make sure it’s not dripping wet.
- Blot the Stain: Gently blot the Sharpie stain, starting from the outside and moving inward. Avoid rubbing, as it may spread the ink.
- Wipe Clean: Once the stain lifts, use a clean, dry cloth to wipe the area, removing any residue.
Repeat these steps if necessary. With a little patience, you’ll find that rubbing alcohol can effectively erase those stubborn Sharpie marks from your desk!
Using Hand Sanitizer to Erase Stains
If you’ve got hand sanitizer handy, you can also use it to tackle those pesky Sharpie stains. Just squeeze a small amount onto a clean cloth and gently blot the stained area. The alcohol in the sanitizer helps break down the ink, making it easier to lift. Remember to test it on a small, inconspicuous spot first to verify it won’t damage your desk’s surface.
Here’s a quick reference on how effective hand sanitizer can be:
| Stain Type | Effectiveness |
|---|---|
| Fresh Sharpie | High |
| Dried Sharpie | Moderate |
| Old Stains | Low |
With a little patience and elbow grease, your desk can look good as new!
Whiteboard Marker Technique
Using a whiteboard marker might seem counterintuitive, but it can effectively lift Sharpie stains. Here’s how you can do it:
Using a whiteboard marker may feel odd, but it’s a surprisingly effective trick to remove Sharpie stains.
- Draw Over the Stain: Take a whiteboard marker and color over the Sharpie stain completely. Make sure to cover it well.
- Wipe It Away: Grab a dry cloth or paper towel and gently wipe the area. The ink from the whiteboard marker will lift the Sharpie ink away.
- Repeat if Necessary: If the stain isn’t entirely gone, repeat the process until the surface looks clean.
This technique works because the solvents in the whiteboard marker can break down the Sharpie’s ink.
You’ll be surprised at how effectively this method can help restore your desk’s appearance!
Baking Soda and Water Paste Solution
A simple yet effective method to tackle Sharpie stains involves creating a baking soda and water paste.
Start by mixing three parts baking soda with one part water in a small bowl until you achieve a thick consistency.
Once your paste is ready, apply it directly onto the stained area of your desk.
Use a clean cloth or sponge to gently rub the paste into the stain, working in circular motions.
Allow it to sit for about 10 minutes to break down the ink.
Afterward, dampen another cloth with water and wipe away the paste.
You might need to repeat this process if the stain persists, but this natural solution can work wonders on stubborn Sharpie marks.
Commercial Cleaners for Stubborn Stains
When home remedies fall short, commercial cleaners can be your best bet for tackling stubborn Sharpie stains.
You’ll find a variety of popular products designed specifically for ink removal, each with its own application techniques.
Let’s explore some effective options to help you reclaim your surfaces.
Popular Commercial Products
Many effective commercial products can tackle stubborn Sharpie stains, making the cleanup process much easier.
Here are three popular options you might consider:
- Goo Gone: This powerful cleaner breaks down ink and adhesive, making it a favorite for tough stains.
- Magic Eraser: A versatile option that can lift marks without damaging most surfaces, perfect for quick touch-ups.
- Isopropyl Alcohol: Commonly found in households, it effectively dissolves Sharpie ink when applied with a soft cloth.
These products can save you time and effort when dealing with unwanted marks on your desk.
Just remember to test any cleaner on a small, inconspicuous area first to verify it won’t damage the surface.
Happy cleaning!
Application Techniques Explained
To effectively remove Sharpie stains with commercial cleaners, start by applying the product directly onto the stain. Use a clean cloth or paper towel to gently blot the area, allowing the cleaner to break down the ink. Avoid rubbing, as this may spread the stain further.
Here’s a quick reference for different types of commercial cleaners and their effectiveness:
| Cleaner Type | Effectiveness |
|---|---|
| Rubbing Alcohol | High |
| Acetone | Very High |
| Glass Cleaner | Moderate |
| Nail Polish Remover | High |
| Dry Erase Marker | Moderate |
After applying, let it sit for a few minutes, then wipe clean with a damp cloth. Repeat if necessary for stubborn stains.
Preventive Measures to Avoid Future Stains
To keep Sharpie stains at bay, consider using desk protectors to shield surfaces from ink.
Opt for non-permanent markers when you can, as they’re less likely to leave a lasting mark.
Establishing a regular cleanup routine can also help catch spills before they become a problem.
Use Desk Protectors
Using desk protectors is one of the most effective ways to safeguard your surfaces from Sharpie stains and other potential damage.
By taking this simple step, you can maintain the appearance of your desk and avoid future frustrations.
Here are three types of desk protectors you might consider:
- Clear Plastic Covers: These are easy to wipe clean and protect your desk from ink and scratches.
- Desk Mats: Available in various materials, they not only protect but also add a touch of style to your workspace.
- Self-Adhesive Film: This option offers a transparent barrier against stains while being removable and easy to apply.
Investing in desk protectors guarantees your workspace stays pristine and free from unwanted marks.
Choose Non-Permanent Markers
Opting for non-permanent markers is a smart choice if you want to prevent stubborn Sharpie stains from ruining your surfaces. These markers are designed to wash off easily, making them a practical alternative for everyday use.
You can find a variety of non-permanent markers that come in different colors and tip sizes, allowing you to express your creativity without the risk of permanent damage. When you choose non-permanent options, you’ll save yourself from the hassle of trying to remove ink stains later.
Plus, they’re great for temporary projects, doodling, or labeling. By making this simple switch, you’ll keep your desk looking clean and maintain its condition over time. So, go ahead and make the change!
Establish Cleanup Routine
Creating a cleanup routine can greatly reduce the likelihood of future Sharpie stains. By implementing a few simple practices, you’ll keep your desk clean and stain-free. Here’s how you can establish an effective routine:
- Wipe Down Regularly: Make it a habit to wipe your desk with a damp cloth daily. This quick action removes any potential ink residue.
- Store Markers Properly: Keep all markers, especially Sharpies, in a designated container away from your workspace. This minimizes spills and accidents.
- Use Desk Mats: Invest in a desk mat that’s easy to clean. If a stain occurs, you can simply replace or clean the mat without damaging your desk.
With these steps, you’ll protect your workspace from unwanted marks!
Frequently Asked Questions
Can I Use Vinegar to Remove Sharpie Stains?
Yes, you can use vinegar to help remove Sharpie stains. Apply a small amount on a cloth, and gently rub the stain. It might take a few tries, but it can work effectively.
Will Sharpie Stains Damage My Desk Surface Permanently?
Sharpie stains can potentially damage your desk surface permanently, especially if left untreated. However, acting quickly and using appropriate cleaning methods can often minimize or eliminate the risk of lasting damage to your desk.
How Long Should I Let the Cleaning Solution Sit?
You should let the cleaning solution sit for about 5 to 10 minutes. This gives it enough time to penetrate the stain. After that, wipe it away gently for the best results.
Are There Any Eco-Friendly Methods to Remove Sharpie Stains?
You can use natural alternatives like rubbing alcohol or vinegar to tackle Sharpie stains. Just apply a small amount, let it sit briefly, then wipe it away. These methods are effective and eco-friendly!
What Should I Do if the Stain Persists?
If the stain persists, try repeating your cleaning method or switch to a stronger solution like rubbing alcohol or acetone. Always test in an inconspicuous area first to avoid damaging your desk’s surface.