Your home office monitor is likely VESA mount compatible, which can greatly enhance your workspace. Check the back of your monitor for a square pattern of mounting holes. If you see them, it’s VESA compatible! Using a VESA mount can help reduce clutter, improve ergonomics, and create a more organized appearance. Plus, with various types available, you can find one that suits your needs perfectly. Discover more about benefits and installation next!
Key Takeaways
- Check for a square pattern of holes on the back of your monitor to confirm VESA compatibility.
- Refer to the user manual or manufacturer’s website for specific VESA size details.
- Look for VESA certification logos on packaging or product descriptions as a compatibility indicator.
- Measure the distance between mounting holes if you’re uncertain about the VESA standard.
- Ensure that the chosen VESA mount type aligns with your workspace needs for optimal ergonomics.
Understanding VESA Mount Standards
When setting up your home office, understanding VESA mount standards is essential for ensuring compatibility between your monitor and mounting solutions.
VESA, or the Video Electronics Standards Association, defines a standardized mounting interface for displays. Most monitors adhere to these standards, which typically include a square or rectangular pattern of mounting holes on the back.
You’ll find common VESA sizes like 75mm x 75mm, 100mm x 100mm, and larger formats for bigger screens. Knowing these dimensions helps you choose the right mount, whether it’s a wall mount, desk mount, or adjustable arm.
How to Check Your Monitor for VESA Compatibility
How can you determine if your monitor is VESA compatible? Start by checking the back of your monitor for mounting holes. Most VESA-compatible monitors have a square pattern of holes, typically spaced 75mm or 100mm apart.
If you don’t see any mounting holes, your monitor likely isn’t compatible. Next, consult your monitor’s user manual or the manufacturer’s website; they usually list VESA compatibility.
You can also look for VESA certification logos on the packaging or product description. If you’re unsure, use a measuring tape to measure the distance between the holes.
Benefits of Using VESA Mounts in Your Home Office
Utilizing VESA mounts in your home office not only maximizes your workspace but also promotes better ergonomics. By elevating your monitor, you can reduce neck and back strain, leading to a more comfortable work environment.
Maximize your home office space and improve ergonomics by using VESA mounts to elevate your monitor for a more comfortable work experience.
Here are three key benefits of using VESA mounts:
- Enhanced Flexibility: You can easily adjust the height, tilt, and rotation of your monitor, allowing for a customized viewing experience.
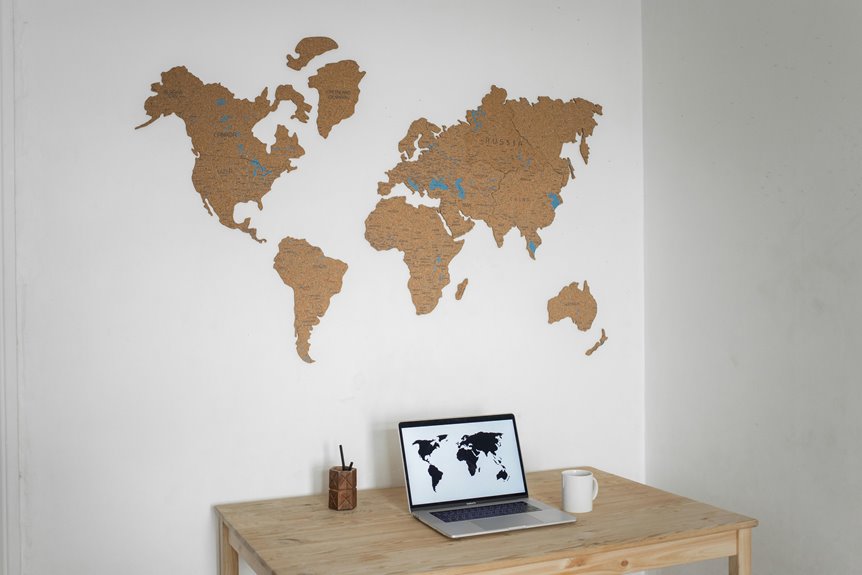
- Increased Desk Space: Freeing up your desk from bulky monitor stands makes room for essential items, like notebooks and coffee mugs.
- Improved Aesthetics: A clean, organized workspace looks professional and can boost your productivity and focus.
Investing in VESA mounts can transform your home office into a more efficient setup, benefiting both your health and workflow.
Different Types of VESA Mounts and Their Uses
VESA mounts come in various types, each designed to meet different needs and preferences in a home office setup.
You’ll find fixed mounts that keep your monitor in a set position, perfect for minimal adjustment. If you want flexibility, articulating mounts allow you to tilt, swivel, and adjust your screen easily.
For those craving a clean workspace, wall-mounted brackets save desk space and offer a sleek look. If you’re using multiple monitors, multi-screen mounts can hold two or more displays, enhancing productivity.
Finally, desk-mounted arms provide adjustable height and positioning, ideal for ergonomic setups.
Installation Process for VESA Mounts
When you’re ready to install your VESA mount, understanding the specifications is key to ensuring compatibility.
Follow this step-by-step guide to make the process smooth and straightforward.
With the right tools and a little preparation, you’ll have your monitor securely mounted in no time.
VESA Mount Specifications
To guarantee a successful installation of your VESA mount, you’ll need to pay close attention to the specifications that dictate compatibility with your monitor.
Here are three key factors to take into account:
- VESA Pattern: Check the mounting hole pattern on the back of your monitor. Common patterns include 75x75mm and 100x100mm.
- Weight Capacity: Verify the mount can support your monitor’s weight. Exceeding this limit could lead to damage or failure.
- Screw Type: Identify the type and length of screws required for your monitor. Generally, VESA mounts use M4, M5, or M6 screws.
Step-by-Step Installation Guide
Installing a VESA mount can be straightforward if you follow these steps carefully.
First, gather your tools: a screwdriver, a level, and a drill. Next, check your monitor’s VESA pattern to verify compatibility. Once you’ve confirmed that, attach the mounting bracket to the back of your monitor using the provided screws. Make sure it’s secure.
Then, locate the desired spot on your wall or desk for the mount. Use a level to mark the position, making certain it’s straight. Drill holes and insert anchors if needed.
Finally, attach the mount to the wall or desk and hang your monitor on it. Adjust the angle for best viewing, and you’re all set for an improved workspace!
Tips for Optimal Monitor Placement and Ergonomics
Optimizing your monitor placement is essential for enhancing both comfort and productivity while you work. Here are some tips to guarantee your setup is ergonomic and effective:
Enhancing comfort and productivity starts with proper monitor placement for an ergonomic workspace.
- Eye Level: Position the top of your monitor screen at or just below eye level to reduce neck strain. You shouldn’t have to look up or down excessively.
- Arm’s Length: Keep the monitor about an arm’s length away from your eyes. This distance minimizes eye strain and allows for a comfortable viewing angle.
- Tilt and Angle: Adjust the monitor’s tilt so you’re looking straight ahead. A slight downward angle can help reduce glare from overhead lights.
Frequently Asked Questions
Can I Use a VESA Mount With a Curved Monitor?
Yes, you can use a VESA mount with a curved monitor, as long as the monitor has VESA mounting holes. Just verify the mount supports the monitor’s weight and curvature for the best viewing experience.
Are There Weight Limits for VESA Mounts?
Yes, there are weight limits for VESA mounts. You should always check the mount’s specifications to guarantee your monitor’s weight falls within those limits. This’ll help prevent damage and guarantee stability in your setup.
How Do I Clean My VESA Mount?
To clean your VESA mount, unplug any cables and use a microfiber cloth with a mild cleaner. Avoid harsh chemicals, and gently wipe the surface to remove dust and grime, ensuring it’s dry before reconnecting.
Can I Adjust the Height of My VESA Mount?
Yes, you can adjust the height of your VESA mount, as long as it has height-adjustable features. Simply loosen the adjustment mechanism, raise or lower the monitor to your preferred position, then tighten it securely.
Do VESA Mounts Work With Laptops?
VESA mounts typically don’t work with laptops directly since they’re designed for monitors. However, you can use a laptop tray or docking station that’s compatible with VESA mounts to achieve a similar setup effectively.