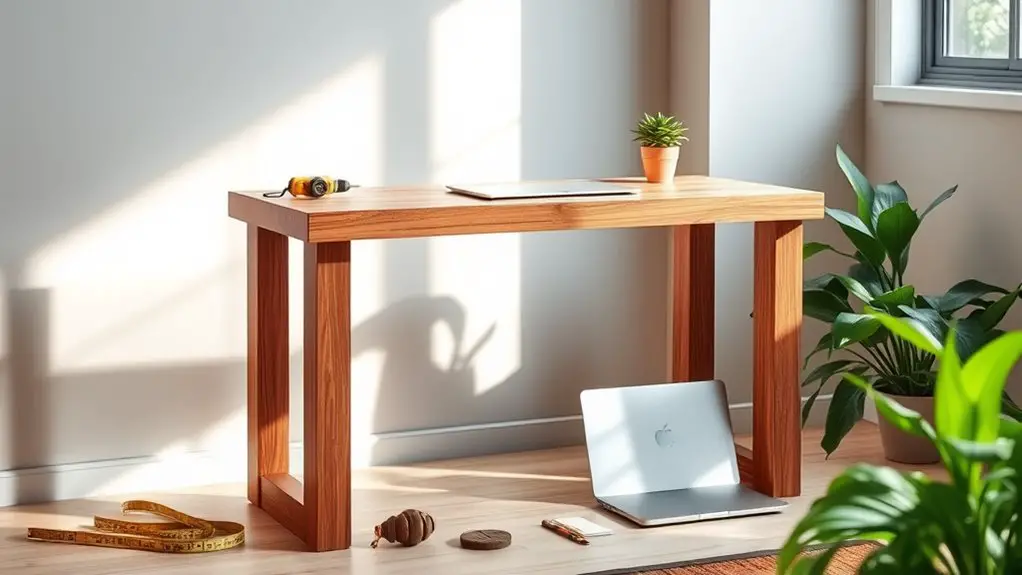
Building your own standing desk in just two hours is doable and rewarding. Start by choosing sturdy materials like plywood or MDF for the desktop. Make sure you have essential tools like a power drill, measuring tape, and screwdrivers handy. Consider ergonomics and adjustability while designing your desk. Follow a clear assembly process, and enjoy the health benefits of using a standing desk. There are more ideas and tips that can help enhance your workspace experience.
Table of Contents
Key Takeaways
- Choose materials like plywood and steel for a sturdy yet lightweight desk that can be assembled quickly.
- Gather essential tools such as a power drill, measuring tape, and screws to expedite the assembly process.
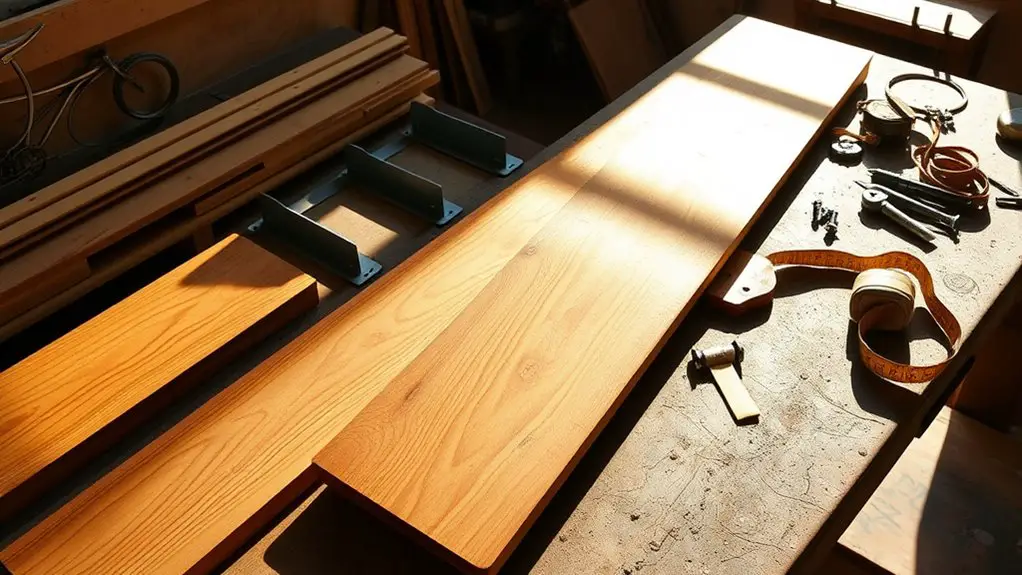
- Prepare all components and cut materials precisely to ensure a smooth assembly in the estimated time.
- Allocate about 2 hours for basic setups; complex designs may require additional time for assembly.
- Focus on ergonomic design and height adjustability to promote comfort and health benefits while using the desk.
Choosing the Right Materials
When building your DIY standing desk, selecting the right materials is essential for both functionality and aesthetics.
Start with the frame: steel offers durability and support, while aluminum's lightweight nature makes adjustments easier. Wooden frames provide a classic look and can be reinforced for stability. If you want to simplify the process, consider a purchased frame.
For the surface, plywood is a strong, budget-friendly option, and hardwood gives a premium feel, though it's heavier. Desk tops made from 1/2 inch thick plywood can provide a sturdy and reliable surface for your workspace.
Think about adjustability, too—an electric motor is quiet and convenient, while a manual crank is cost-effective.
Finally, incorporating recycled materials not only saves money but also helps the environment.
Choose wisely, and your desk will meet both your needs and style!
Essential Tools for Your Project
With the right materials chosen, it's time to gather the tools that will bring your DIY standing desk to life. Having the right tools on hand guarantees a smooth and efficient building process.
Choosing the right materials is just the beginning; gathering essential tools ensures a seamless DIY standing desk assembly.
Here are three essential tools you'll need:
- Power Drill: This will speed up your drilling and screwing, making assembly a breeze.
- Measuring Tape: Accurate measurements are vital for a well-fitting desk, so don't skip this.
- Screwdriver: You'll need this for assembling the frame and securing components together.
Additionally, consider safety gear like goggles and gloves to protect yourself while you work. Remember that ergonomics is crucial for comfort and posture, so keep this in mind while designing your desk.
With these tools ready, you're one step closer to creating your perfect standing desk!
Design Considerations for Your Standing Desk
Designing a standing desk requires careful thought about various factors to guarantee it meets your needs and enhances your workspace.
Start by evaluating your available floor area to determine the best placement. Opt for an ergonomic layout that encourages movement and collaboration while ensuring easy access to power outlets. Implement cable management solutions to avoid clutter.
Consider proper lighting to minimize eye strain and create a pleasant environment. Choose a height-adjustable desk to accommodate both standing and sitting positions, and position your monitor at eye level for comfort. Additionally, incorporating ergonomic office furniture can significantly enhance your overall productivity and well-being in your new standing desk setup.
Finally, think about incorporating anti-fatigue mats and personalized workspace adjustments to enhance overall productivity and well-being in your new standing desk setup.
Step-by-Step Assembly Process
Now that you've designed your standing desk, it's time to tackle the assembly process.
You'll focus on frame construction techniques, desktop attachment methods, and ensuring height adjustment functionality. Building your own desk offers multiple health advantages, allowing you to reduce sedentary behavior and improve overall well-being.
Let's get started so you can enjoy your new workspace!
Frame Construction Techniques
As you initiate building your DIY standing desk, the frame construction techniques serve as the backbone of your project, ensuring stability and longevity.
Follow these steps for a solid assembly:
- Cutting Lumber: Measure and cut your 2x4s or 2x6s to the specified lengths, ensuring precision for a perfect fit.
- Assemble Legs: Construct the legs with vertical supports and cross beams, giving extra support with middle and back braces. The legs should be made from multiple 2x6s for optimal strength.
- Secure Fasteners: Use wood screws and insert-nuts to tightly secure all components, preventing any wobbling.
Remember to keep your workspace organized and wear protective gear throughout the process.
With these techniques, you're on your way to a sturdy, functional standing desk!
Desktop Attachment Methods
With a sturdy frame in place, the next step is to focus on securely attaching the desktop. Start by preparing your desktop material—cut it to size using a circular or table saw, then smooth the edges with sandpaper. Pre-drill holes to match your frame for easy screwing. It is important to choose a variety of table tops that will ensure durability and aesthetics for your desk.
Here's a quick reference table for your attachment process:
| Step | Tools Needed | Tips |
|---|---|---|
| Cut the Desktop | Circular/Table Saw | Measure twice, cut once |
| Pre-drill Holes | Drill, Drill Bits | Space holes evenly |
| Apply Glue | Wood Glue | For laminated layers |
| Secure with Screws | Screwdriver, Screws | Hide screws for a clean look |
Once done, make certain everything dries properly before using your new desk.
Height Adjustment Installation
To successfully install the height adjustment mechanism for your DIY standing desk, begin by carefully selecting the right linear actuators. Consider the following factors:
- Stroke Length: Choose actuators with a stroke length that suits your desired height range.
- Load Capacity: Verify each actuator can handle the weight of your desk and items on it.
- Speed: If quick adjustments are important, opt for faster actuators, even if they cost a bit more. Geek desks typically cost around $1,000, which highlights the potential savings of your DIY project.
Once chosen, attach the linear actuators to your wood base. Build the inner and outer columns around them, adding bracing for stability. Adjust the frame to fit your tabletop accurately, and finally, test the height adjustment to verify everything functions smoothly.
Cost and Time Factors to Consider
When you're planning your DIY standing desk, it's essential to take into account your budget for materials and the time you'll need to invest. You can save money by choosing budget-friendly options and using tools you already own. Additionally, understanding the desk frame design will help you select materials that balance cost and durability. Also, be honest about your skill level, as this will impact both the complexity of your design and the time it takes to complete the project.
Budget-Friendly Material Choices
A DIY standing desk can be accomplished for under $100, making it a budget-friendly alternative to expensive pre-made options.
By choosing economical materials, you can create a durable and functional desk while saving money. Here are three cost-effective material choices to evaluate:
- Plywood: Strong and customizable, plywood is perfect for crafting a sturdy desktop.
- MDF: Offering a smooth surface, MDF is easy to paint and an affordable option.
- Recycled Materials: Think outside the box with cardboard or wooden pallets to cut costs and promote sustainability. Additionally, you can consider using a L-shaped standing desk design to maximize space efficiency.
These materials not only keep your budget in check but also allow for personalization to suit your workspace needs.
With a little creativity, you can build a desk that's both stylish and functional!
Estimated Time Commitment
Building a DIY standing desk requires careful planning and time management to guarantee a smooth process. You can expect to spend approximately 2 hours on basic setups, but complex designs may take longer. Gathering your materials and tools beforehand will streamline the assembly. Keep in mind that the maximum weight capacity of the UPLIFT Desk® is 355 pounds, which allows for robust and durable desktop options. Consider using pre-made frames to save time or follow IKEA hacks for quicker setups. Organize your workspace and focus on one task at a time to enhance efficiency. Anticipate potential setbacks and allocate extra time for them. Breaking your project into manageable sessions can also help fit it into your schedule. By planning effectively, you can enjoy a custom desk tailored to your needs without the stress of time constraints.
Skill Level Requirements
Successfully assembling your DIY standing desk hinges on your skill level. If you're comfortable with basic carpentry and power tools, you'll have a smoother experience.
Here are three key requirements:
- Carpentry Skills: You need to measure and cut wood accurately to guarantee a sturdy build.
- Tool Familiarity: Knowing how to use a power drill and saw will save you time and prevent mistakes.
- Design Creativity: A little creativity can help you customize your desk to fit your style and space. Additionally, understanding ergonomics can enhance comfort and efficiency during use.
Keep in mind that if you're new to this, having tutorials on hand can make the process easier.
The right skills and preparation can transform your project from intimidating to delightful!
Health Benefits of Using a Standing Desk
While many people spend hours sitting at their desks, embracing a standing desk can greatly enhance your health and well-being.
Standing desks notably reduce risks of obesity, cardiovascular disease, and diabetes associated with prolonged sitting. By promoting better posture, they alleviate back and neck pain, while engaging your core muscles. Additionally, using a standing desk can help avoid security measures that websites employ against online threats, as it encourages a more active and vigilant approach to your environment.
You'll likely notice increased energy levels and improved focus, which can boost your productivity throughout the day. Standing also encourages more movement, improving circulation and reducing chronic disease risks.
Plus, it helps you burn more calories, supporting weight management. Ultimately, integrating a standing desk into your routine can lead to a healthier lifestyle and a greater sense of well-being.
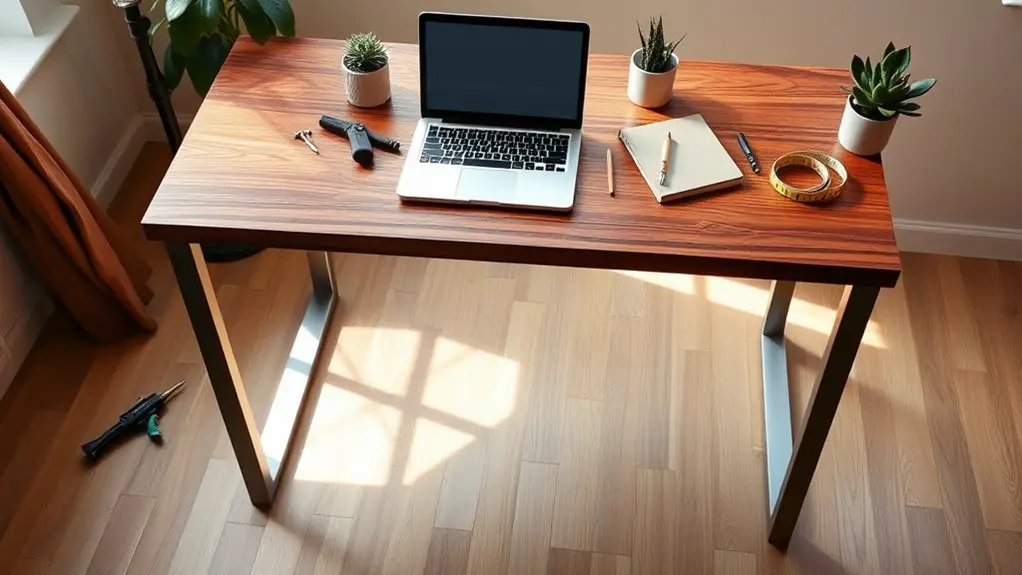
Tips for Personalizing Your Workspace

Embracing a standing desk not only boosts your health but also invites the opportunity to personalize your workspace.
By adding personal touches, you can create an environment that reflects your style and increases productivity. Here are three tips to get you started:
- Incorporate Personal Photos: Displaying images of loved ones fosters connection and comfort. A sense of identity in the workplace contributes to overall employee satisfaction.
- Select a Color Scheme: Choose accessories in your favorite colors to energize your area and enhance your mood.
- Add Decorative Items: Showcase your hobbies or interests to make your workspace uniquely yours.
Frequently Asked Questions
What Is the Ideal Height for a Standing Desk?
The ideal height for your standing desk ranges between 38 and 46 inches. It depends on your height and shoe height. Make certain your elbows rest at a 90-degree angle while typing for maximum comfort.
Can I Use an Old Table as a Base?
Yes, you can use an old table as a base for your standing desk. Just verify it's stable, adjustable, and has enough surface area for your workspace needs. Customizing it can enhance functionality and aesthetics.
How Much Weight Can a DIY Standing Desk Support?
A DIY standing desk can typically support between 100kg to 150kg, depending on materials and design. Make certain you distribute weight evenly and test its stability to confirm safety and ideal performance.
What Finishes Can I Apply to the Wood?
You can apply various finishes to wood, like espresso or walnut stains for color, polyurethane for protection, or whitewash for a softer look. Each option enhances the wood's natural beauty and durability.
Are There Any Safety Tips for Using Power Tools?
When using power tools, always inspect them beforehand, keep cords away from hazards, and guarantee proper grounding. Maintain a clutter-free workspace, wear PPE, and stay focused to prevent accidents and guarantee safety throughout your project.


